17 Code Sections
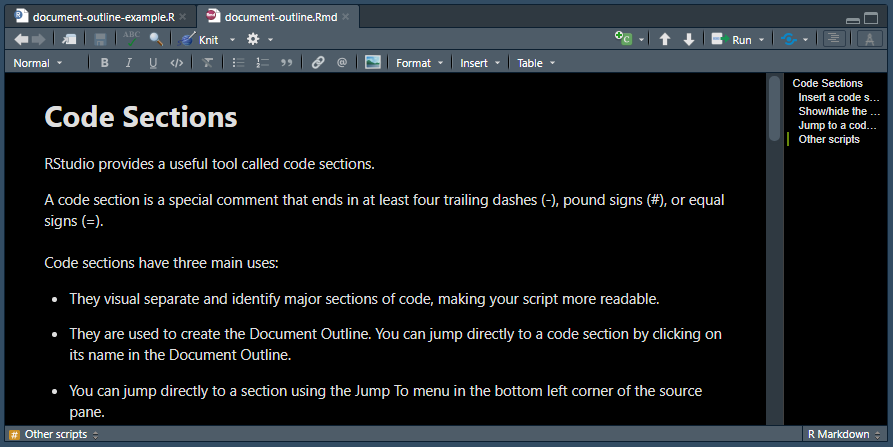
RStudio provides a useful tool called code sections.
A code section is a special comment that ends in at least four trailing dashes (-), pound signs (#), or equal signs (=).
Code sections have three main uses:
They visual separate and identify major sections of code, making your script more readable.
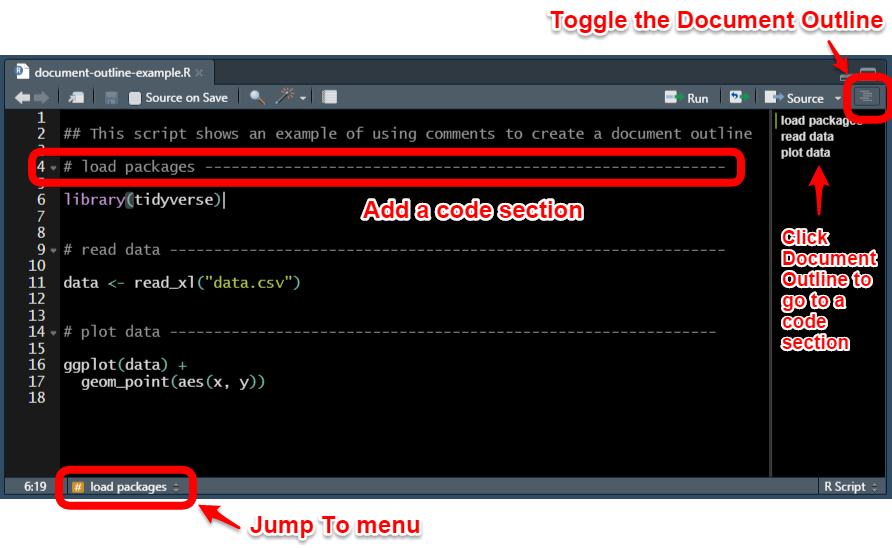
They are used to create the Document Outline. You can jump directly to a code section by clicking on its name in the Document Outline.
You can jump directly to a section using the Jump To menu in the bottom left corner of the source pane.
Here is a screenshot of the code sections in action:

And here is the code in the script shown in the screenshot above:
## This script shows an example of using comments to create a document outline

# load packages -----------------------------------------------------------

library(tidyverse)


# read data ---------------------------------------------------------------

data <- read_xl("data.csv")


# plot data --------------------------------------------------------------

ggplot(data) +
  geom_point(aes(x, y))
17.1 Insert a code section
To insert a code section in an R script, do one of the following:
- Use the Insert Section… dialog under the Code menu
- Use the keyboard shortcut Ctrl+Shift+R / Cmd+Shift+R
- Add four or more dashes (-) or pound signs (#) at the end of a comment
For readability, add a blank line above and below each code section comment
17.2 Show/hide the Document Outline
The document outline appears on the right side of the source pane
To toggle the Document Outline on or off, do one of the following:
- Click the Document Outline button on the right side of the source pane toolbar. It looks like four offset horizontal lines
- Use the keyboard Shortcut Ctrl-Shift+O / Cmd+Shift+O
